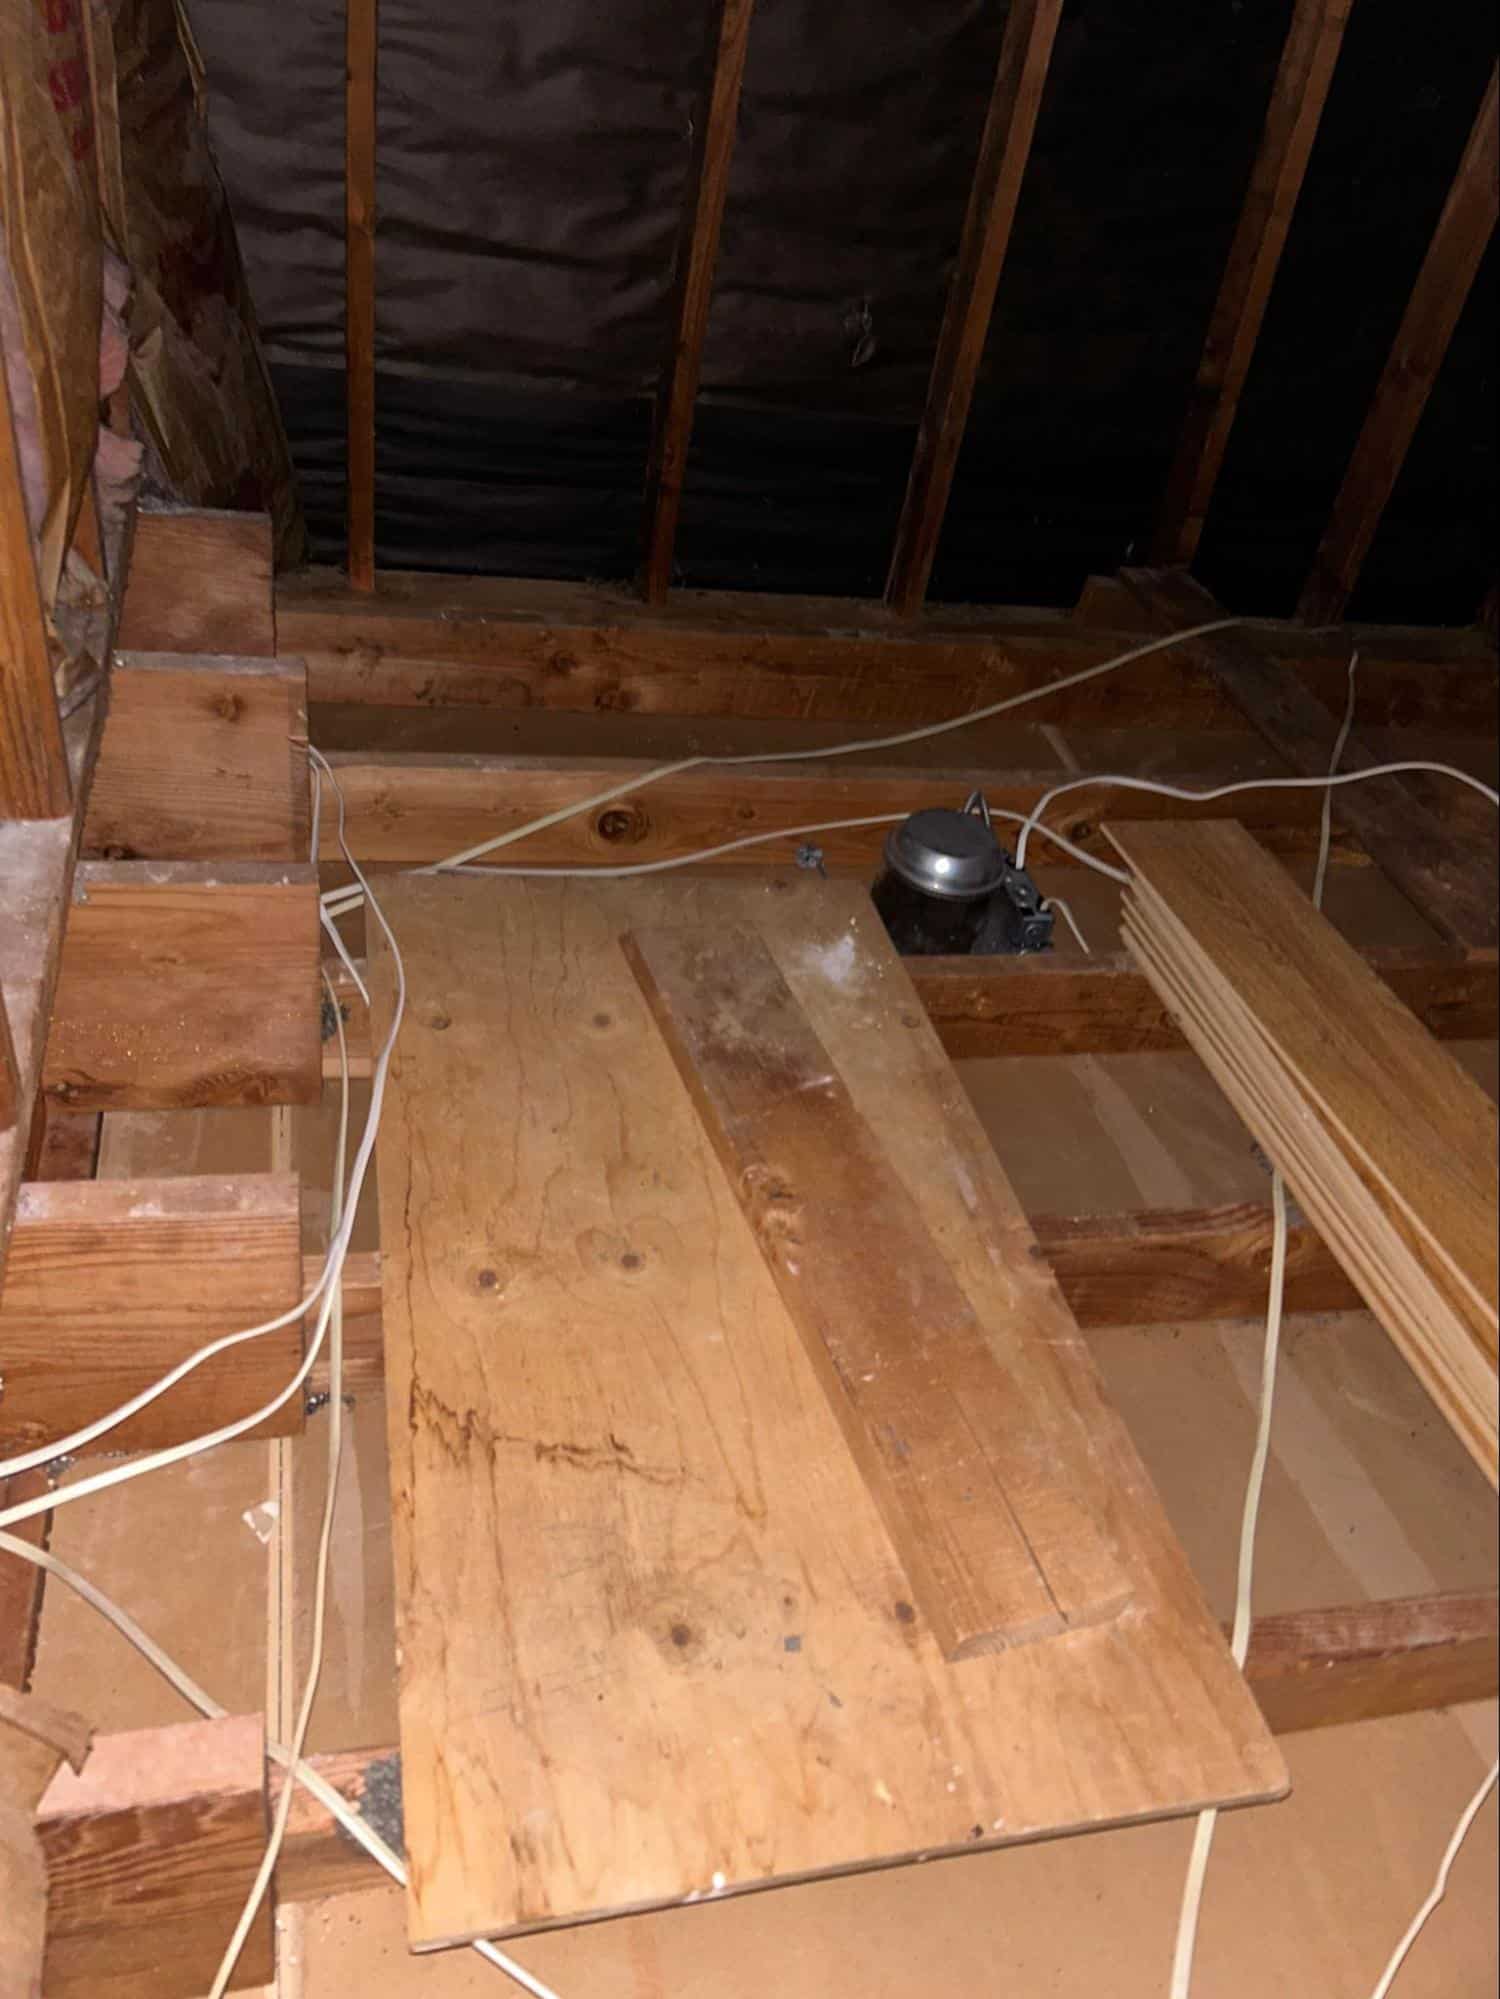
Getting rid of your old insulation can not only help you feel more comfortable in your home and lower your energy bill, but it can also be a great safety measure. Let’s walk you through the process.
Did you know? Poor insulation is the leading cause of energy waste in American homes. That is why it is so essential to perform house insulation removal when insulation has been damaged, wet, or is outdated.
This blog is an in-depth guide to safely removing insulation from your attic, ceiling, or other spaces. We will also discuss when you should hire an insulation removal service. So, continue reading.
Why Removing Insulation Is Necessary
Insulation, like every other material, has a limited lifespan. Over time, it can break down, become compromised, trap pests, or become wet. The older the insulation, the less able it is to manage temperature changes properly. An old, insulated attic can be a breeding ground for mold and allergens.
There are several reasons for house insulation removal, including:
- Water damage or mold
- Pest infestation (rodents, birds, insects)
- Bad odors or air quality
- You’re planning a remodel
- There are good alternative insulation materials that outperform your insulation.
As we discussed earlier, damaged insulation can harm indoor air quality and lead to health issues such as coughing, allergies, and respiratory distress.
Step-by-Step Guide to Safe Home Insulation Removal
This guide will help you follow a safe and effective process from start to finish.
Step 1: Inspect the Area Thoroughly
Before commencing, examine your insulation for:
- Discoloration
- Moisture
- Odors or pest droppings
- Dust or fiber buildup
Although removing old attic insulation may be risky if the material has asbestos or is moldy, older homes (before 1980) are more likely to have asbestos insulation materials, so you should hire a professional insulation removal company.
Step 2: Gather Safety Tools and Materials
Here’s what you’ll need:
- Safety goggles
- Gloves (heavy-duty or rubber)
- Long-sleeved shirt and pants
- N95 respirator (or better)
- Industrial vacuum with a HEPA filter
- Trash bags or contractor bags
- Headlamp or portable light source
- Plastic sheeting to cover surfaces
Bonus tip: Always wear protective gear. Certain insulation materials can irritate your skin, eyes, or lungs.
Step 3: Seal and Prepare the Area
If you are going to remove the insulation, make sure you cover the vents, duct openings, and surrounding areas with plastic sheeting or plastic drop cloths. It is also a good idea to keep windows open to allow fresh air inside.
Before attic insulation removal, clear out stored materials. Set up your ladder in the safest manner possible. Have a flashlight or headlamp handy to illuminate your work surface and check for any exposed wiring or damaged pipes.
Step 4: Identify the Insulation Type
The type of insulation you have will decide your removal method. Here’s a quick table:
| Type | Location | Removal Method |
| Fiberglass batts | Walls, ceilings, attics | Pull by hand, roll, and bag |
| Blown-in cellulose | Attics | Use a HEPA vacuum |
| Spray foam | Attics, walls | Requires scraping or professional help |
| Rock wool | Ceilings, older homes | Hand removal with proper gear |
If your insulation appears grey and dusty, it’s likely cellulose. If it’s fluffy and pink, it’s fiberglass.
Step 5: Start with Attic Insulation Removal
Insulation removal from the attic often involves loose-fill or blown-in insulation, which is the most common type of insulation in older homes.
Steps:
- Start at the farthest corner of the attic.
- Use your HEPA vacuum to collect loose material.
- Make sure you are working slowly, not to stir up dust.
- Bag material tightly and dispose of it properly.
- Be careful of nails, wires, and joists.
If insulation is wet or is chewed by animals, stop and call a pro; otherwise, it could be hazardous.
Step 6: Proceed to Ceiling Insulation Removal
Ceiling insulation removal can be a little trickier and messier. It is usually found above drop ceilings or between floor joists on the upper floor.
Steps:
- Shut off the power to the ceiling lights and fans
- Carefully remove ceiling tiles or drywall
- Wear gloves and goggles while you pull out the insulation
- Use a vacuum or shop vacuum to clean up any particles left
- Inspect the area for any lingering pests or mold.
If the insulation falls apart and leaves a dusty mess, clean the area with a HEPA vacuum. Never sweep, as it simply puts dust and particles in the air.
Step 7: Handle Old Attic Insulation Carefully
Old attic insulation removal is more than just a simple cleaning job. Insulation installed over 20 years ago may be badly degraded or contain old materials that are unsafe for your home.
Warning Signs that your insulation may be unsafe:
- Crumbly or powdery appearance
- Visible mold and/or a strong odor
- Vermiculite (could contain asbestos)
- Evidence of rodent or bird nesting
Your family deserves a healthy place to live. Don’t take the chance with old, toxic insulation. If you are in doubt, please call a qualified, professional insulation removal expert for an evaluation of your risk.
When to Hire Professional Help
DIY insulation removal saves money, but it’s not always safe. There are times when calling a pro is the smartest and safest decision.
Why Choose Professional Insulation Removal Services?
- Certified safety standards
- Utilizing the proper equipment to complete bigger jobs
- Expert knowledge of hazardous materials
- Fast and efficient cleanup
- Full sanitation post removal
When Should You Call In A Professional?
- Moldy/wet insulation
- Insulation is suspected of having asbestos.
- A larger attic or crawlspace
- Insulation contaminated by pests.
- Nearby structural damage or leaks.
Professionals can also recommend better insulation options for the future and help you save long-term on energy bills.
Post-Removal: Clean, Seal, and Upgrade
Don’t jump right into installation after you have removed your old insulation. Give the area a thorough cleaning, check for leaks, and repair as needed.
Here is a checklist of tasks you might want to check off once you remove the insulation:
- Vacuum the entire area, all surfaces
- Fill cracks and air gaps
- Repair or replace any rotten wood and wires
- Add any rodent-proof mesh if you want to add that protection
- Install new insulation and make sure to choose the right R-value
A clean space allows new insulation to perform better and last longer.
Don’t Let Old Insulation Hold Your Home Back!
Is harmful insulation hiding in your attic? Take action now! When you remove bad insulation, you improve your air quality and the safety of your family. The added energy savings are another benefit. Whether you decide to try house insulation removal by yourself or rely on a trusted expert like My Insulation Guy, you are still making the right choice for your family. To get more insights, you can visit our website or contact us.
Keep drafts, dust, and health hazards away from your home. Get started today and breathe easy tomorrow!
FAQs
- Can I remove insulation myself safely?
Yes, as long as the insulation isn’t old and intact. If you do so, wear all of your safety gear and don’t disturb anything that has mold, has been infested by rodents, or has asbestos in it.
- How can I tell if my insulation has been contaminated?
Look for discoloration, odors, pest droppings, or moisture. If you notice mold, dust, or animal signs, your insulation is no longer healthy.
- Is it better to remove or cover insulation that is old?
Removing insulation is better. Covering insulation that is damaged or has mold will trap moisture and can be less efficient. If there are asymptomatic mold or pest droppings, it will also be unhealthy.
- What is the average cost of insulation removal?
If you hire a professional, insulation removal can cost about $1 to $3 per square foot, based on the type of insulation, access, or contamination level.
- When is the best time of year to take out insulation?
Late spring or early fall is the best time to remove insulation. The weather is mild, so working in attics or ceiling is safer and easier.

